Custom Slimline wallet
Snake skin and roo skin
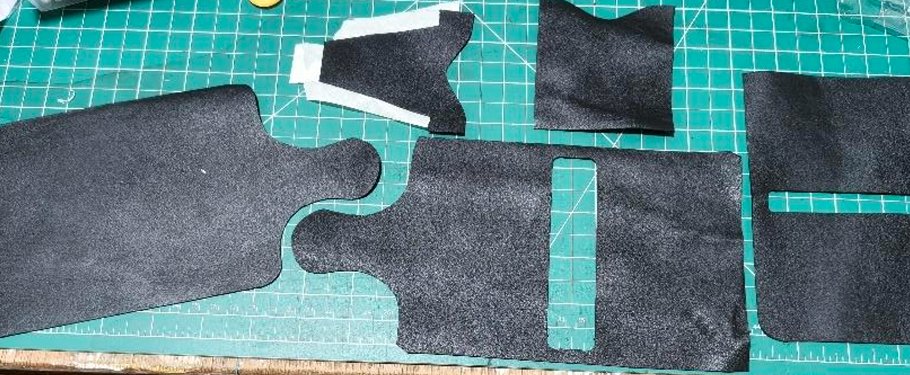
All pieces cut out of the roo skin after changing the pattern
Working on the billfold (outer panel) I roughly cut out the snake skin to size and glued it in place to make sure it doesn’t move around while working on it and shaping the skin I left a gap along the fold to prevent the scales and skin from getting damaged from opening and closing the wallet.
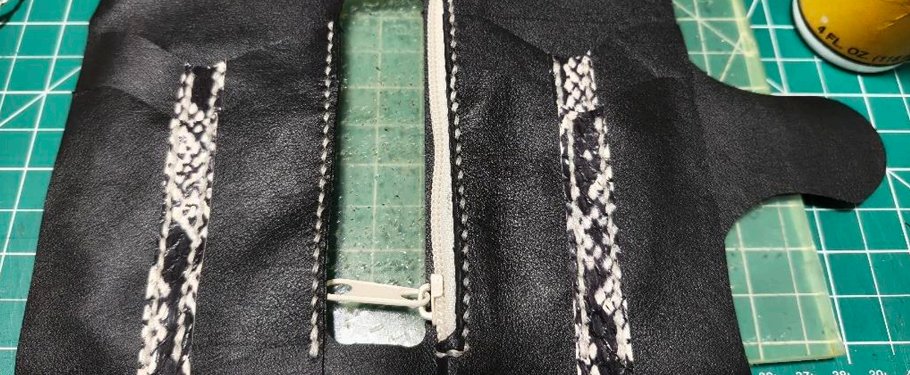
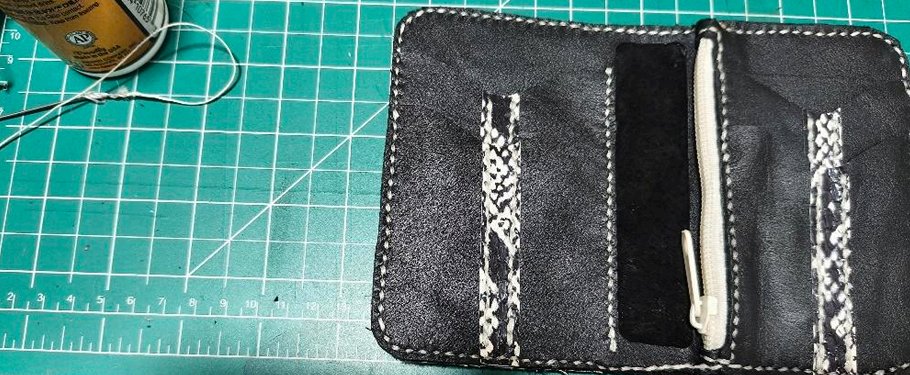
With the internal card pockets I attached a strip of snake skin to break up the black and add a focal point. I was able to colour match the thread to the white parts of the snake skin to help tie it all together. as you can tell by the picture it all lines up once installed. There is the zipper coin pocket with the 2 card pockets installed on top thus maximising space for this wallet.
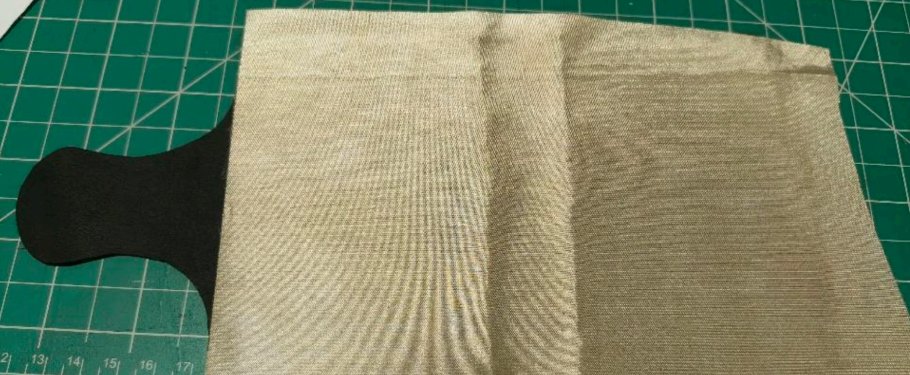
Above is the military grade RFID protection used by all security services in Australia so no expense is spared with the materials used by myself.
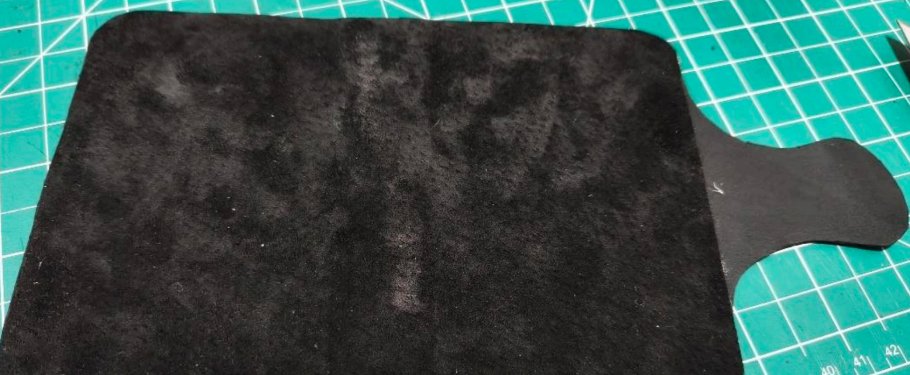
Once the RFID protection is attached I then go ahead and line the wallet. In this case I utilised black pig skin to accent the roo skin.
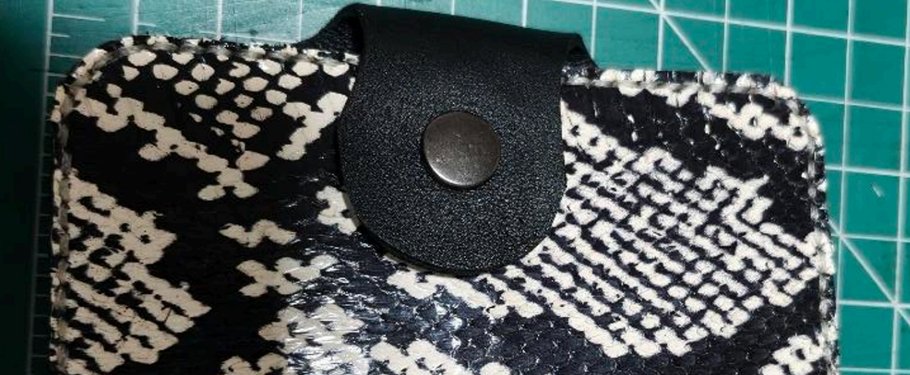
Here you can see I finalised the internals of the wallet before attaching all the final hardware being the press stud or snap lock depending on your country of origin.
So after gluing and stitching the internal to the billfold, I shaped the final shape to complete the wallet.
As an example, I shaped half the wallet for visual before finishing it as you can tell by the final picture below.